 |
 |
- FAQ's 100 Questions
- Best Puzzle Brands
- Activities/Accessories
- Best Puzzle Lights
- Sponsored Reviews
- Sales l Giveaways
- Reap the Benefits
- Get Your Game On!
We are a participant in the Amazon Services LLC Associates Program, an affiliate advertising program designed to provide a means for us to earn fees by linking to Amazon.com and affiliated sites. Also, some of our posts contain other affiliate links and we will be compensated if you make a purchase after clicking on our links.


No Glue Method Jigsaw Puzzle
Here's the No Glue Method Jigsaw Puzzle Steps I have used on most of my jigsaw puzzles as I have never glued a puzzle. So...
To glue or not to glue......One of the most common questions with jigsaw puzzles is, 'How to Glue A Jigsaw Puzzle?' If you are interested in reading more about gluing your puzzle then CLICK HERE
The 'no-glue' method follows below...
BUT ...what if you do not want to go the traditional 'glued puzzle' route because it is time consuming and could be messy...both of which I do not like ;) So...
I will share my method and an alternative IDEA that you may like to use. I get great feedback on my method because it is very low cost and preserves your puzzle for many many years... It's also quick, easy and FUN! read on...
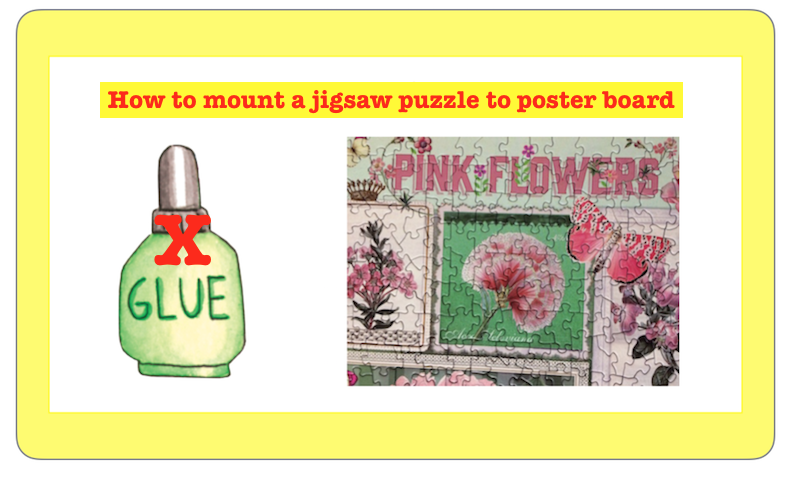
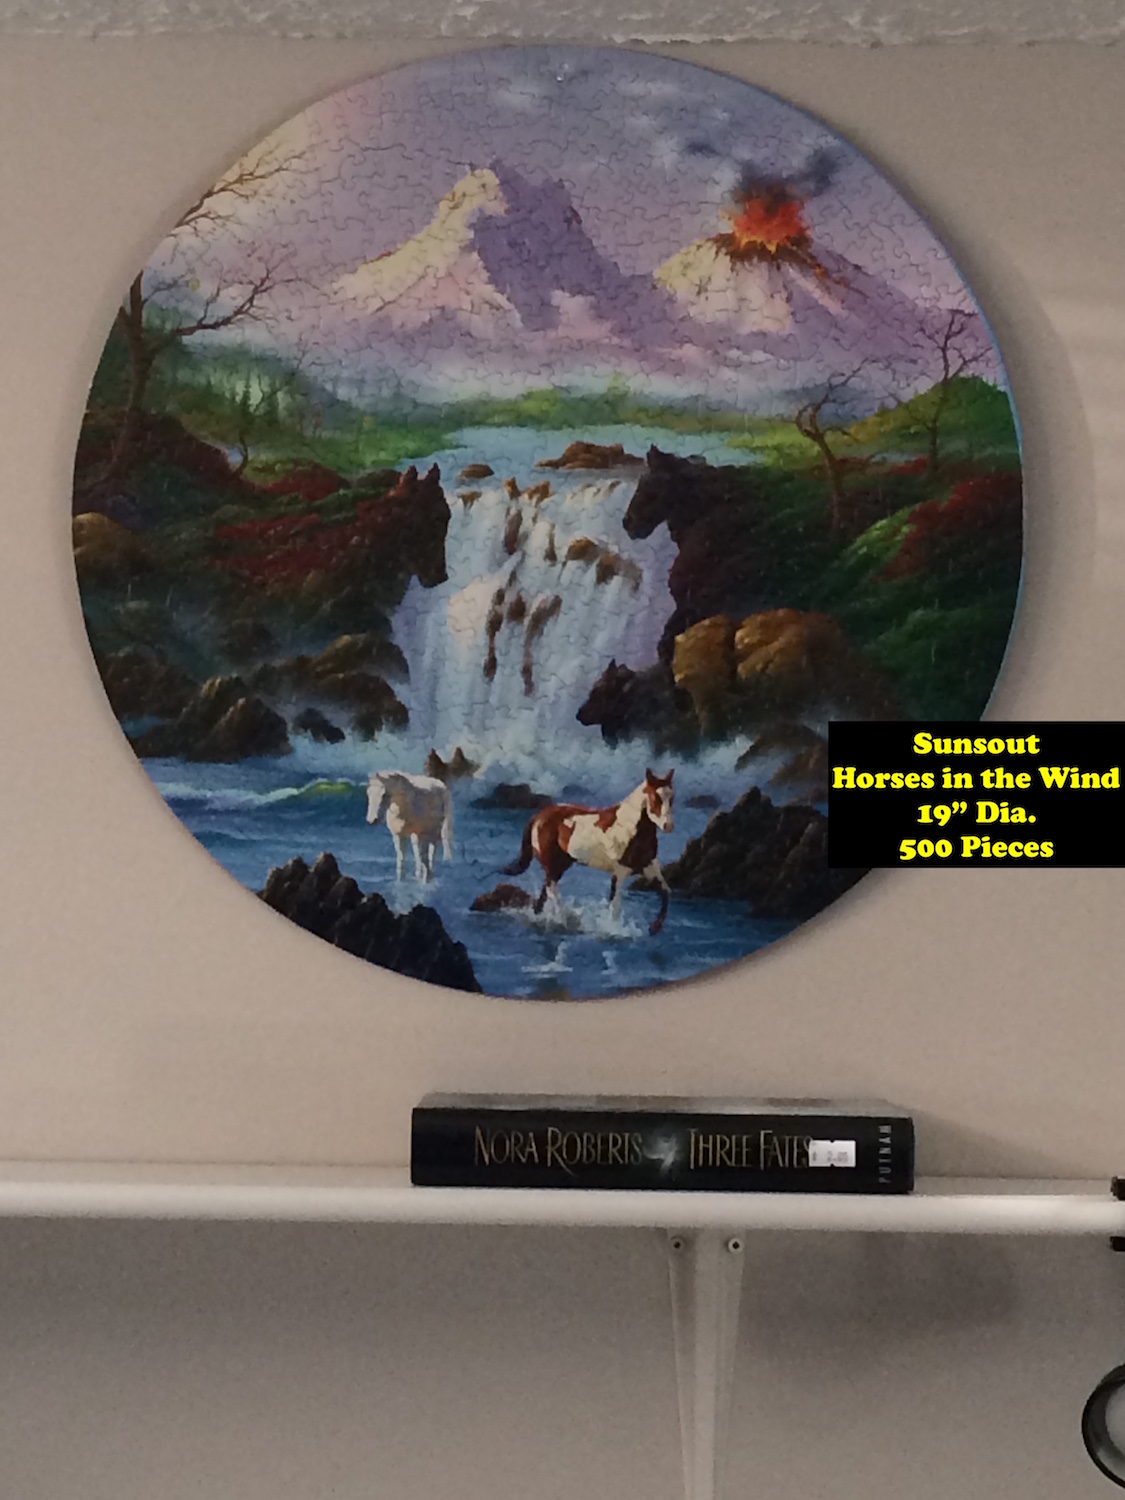
Watch Vee Petersen (Group Admin) in her 'No Glue Method' Facebook Video LinkSo often many great puzzles do not make it to the wall because frames are costly or sizes are simply not available. I have bought second-hand frames from Thrift stores and painted them with colours that blend nicely with the puzzle colours. But I do not frame all my jigsaw puzzles. They look just as nice on the wall in a poster-board format too.
Here's what I have done with SEVERAL of my puzzles I keep:
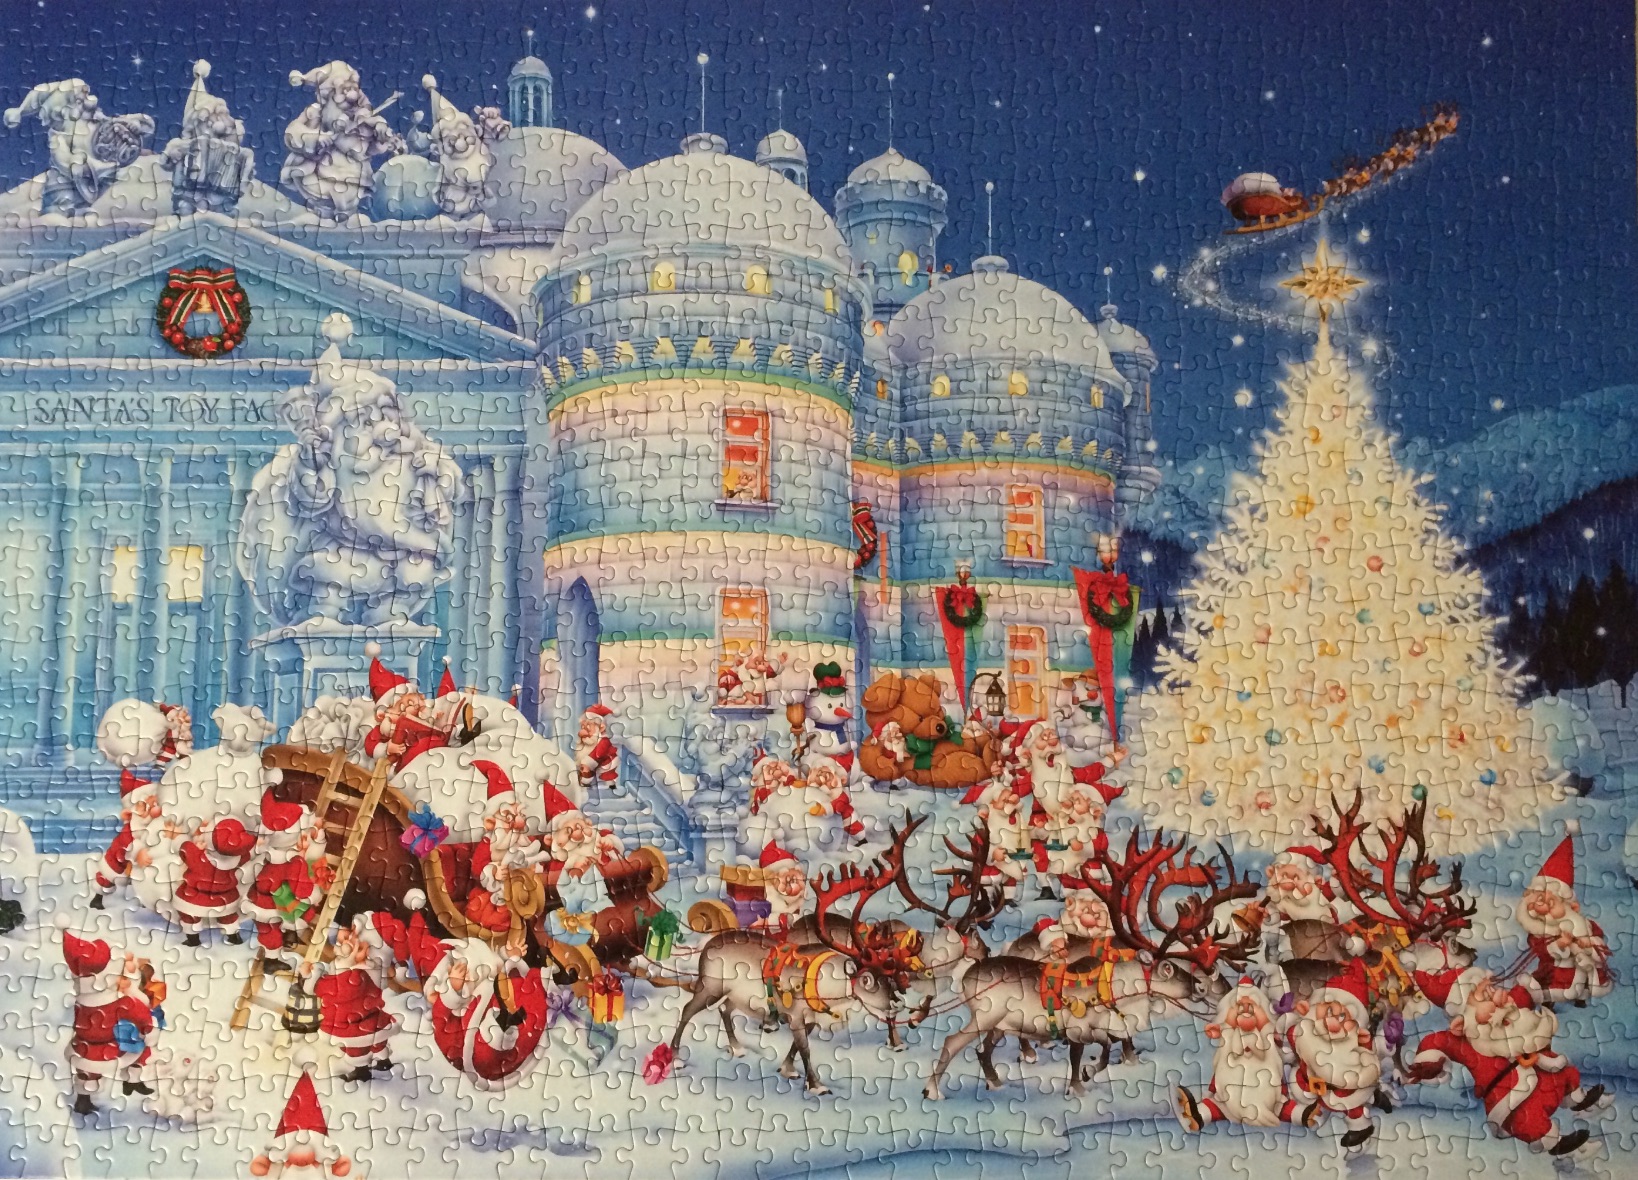
Samples of the No Glue Method Jigsaw Puzzle Steps
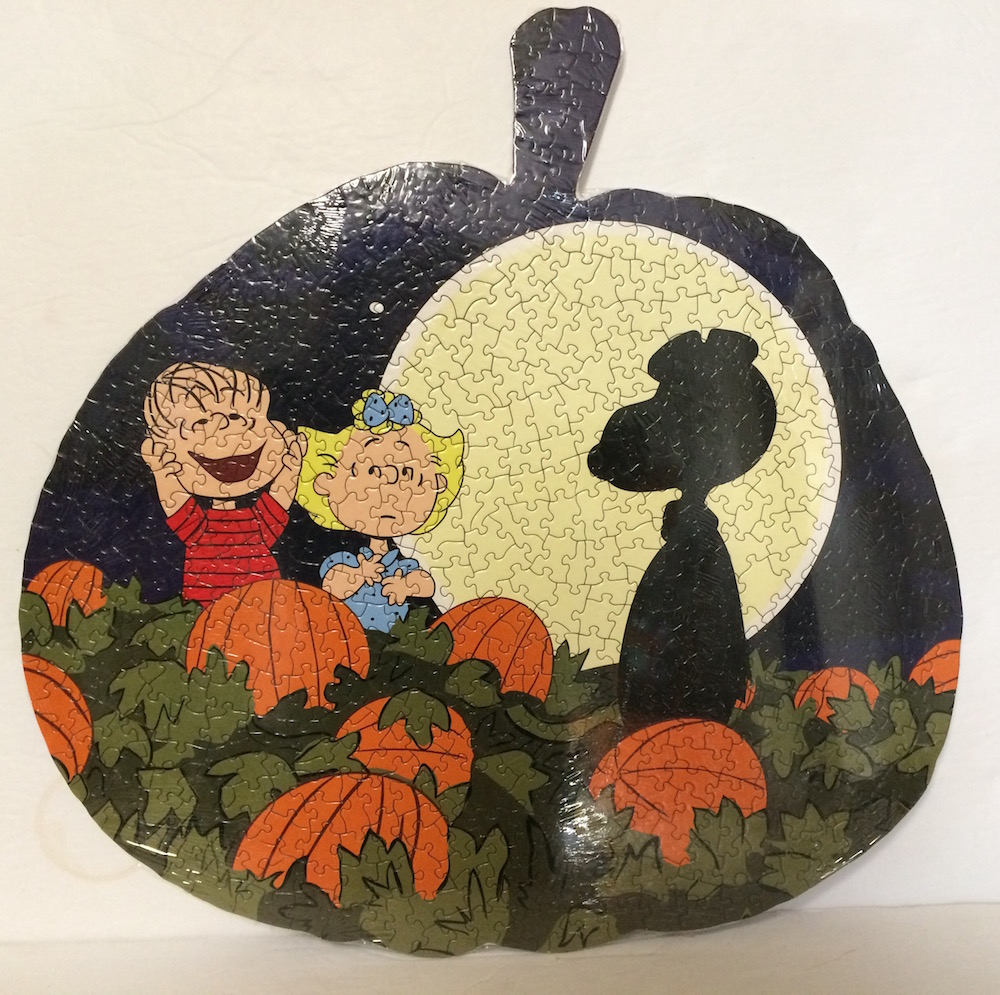 Brand: USAoploy. "It's The Great Pumpkin, Charlie Brown". Size: 19 "x19". 500 pieces. Artist: Charles Schulz. Brand: USAoploy. "It's The Great Pumpkin, Charlie Brown". Size: 19 "x19". 500 pieces. Artist: Charles Schulz. |
Supplies for the No Glue Method Jigsaw Puzzle Steps
- Two Poster Boards (very low cost at Dollar Stores)
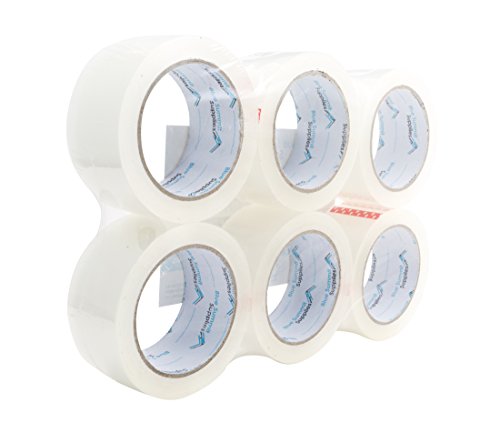
- Clear packing tape (very low cost at Dollar Stores)
- Any brand of clear heat-shrink plastic for windows
- Scotch tape
- Completed jigsaw puzzle (shaped or not)
- Scissors, cutting tools
- Hair blowdryer
- Best Quality Jigsaw Puzzles
- 43 Best Jigsaw Puzzle Brands
- 5 Best Jigsaw Puzzle Lights
- 11 Best Jigsaw Puzzle Tables
- 23 Best Jigsaw Puzzle Mats
- 85 Best Shaped Jigsaw Puzzles
- 29 Disney Villainous Jigsaw Puzzles
- Best Jigsaw Puzzles Scoops
- Best Jigsaw Puzzle Glue
- No Glue Method for Puzzles
- 115 Cobble Hill Jigsaw Puzzles
- 33 JaCaRou Jigsaw Puzzles
- 9 WerkShoppe Jigsaw Puzzles
- 5 Grateful House Jigsaw Puzzles
- 95 Eurographics Jigsaw Puzzles
- 7 Hennessy Jigsaw Puzzles
- 11 Ceaco Jigsaw Puzzles
- 29 Cloudberries Jigsaw Puzzles
- 2 Wentworth Jigsaw Puzzles
- _______Advertisement_______
We have collected a massive list of jigsaw puzzles in numerous categories on our Amazon Store link. It's a quick way to browse most current puzzles and/or specific seasons, accessories and themes. Makes for a terrific one-stop jigsaw puzzle gift giving shopping centre. CLICK HERE
Instructions for the No Glue Method Jigsaw Puzzle Steps
- When the puzzle is completed and assuming you put it together on top of a poster board, place a 2nd poster board over the top of the completed puzzle and carefully (and I mean very carefully) flip the puzzle over. Once the puzzle is flipped on it's back (back is faced up to you) you can run wide clear tape across the back of the puzzle in strips. You can buy this packing tape at the Dollar type stores for a very low cost.
- I prefer to cover the entire back but you may just want to be sure all the pieces are caught by the wide tape. (So if you choose to remove the tape on the puzzle in the future it will cause less disruption to the back of the puzzle pieces.)
- Now that you have (a) completed the puzzle, (b) flipped it over, (c) put wide tape across the entire back - cut your poster board to the exact size of your puzzle. Your puzzle will be mounted to the puzzle-foam board for back support.
- Next cut a sheet of clear window heat shrink wrap plastic that is 3 to 4 inches bigger than the puzzle/puzzle-foam-board all the way around. Place the cut plastic over the front face of the puzzle - then flip the puzzle and foam board over together.
- Now scotch tape small pieces of tape to the back of the foam board to keep the plastic in place and tuck/tack/tape down the corners nicely on the back. So now you have your puzzle lying on top of your puzzle foam board with both wrapped in heat-shrink wrap plastic that is taped on the back to hold it in place.
- With the plastic wrap taught (not too tight) over the front of the puzzle and taped down with the scotch tape on the back, proceed to cover the entire back with the wide tape again for the 2nd time.
- Next take your household hair-blow dryer and gently (high-hot) heat the front of the puzzle so all the (shrinking action) wrinkles are removed from the front of the puzzle leaving it shiny smooth. Run the blow dryer along the edges and then the back of the puzzle/foam board to seal it up good.
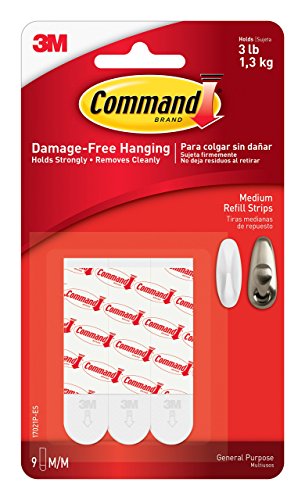
- At this point you may place a wall hanger of your choice to the back of the puzzle (without putting a frame on it) and hang it on your wall. These are not really heavy puzzles but be certain to have a good wall hanger. Also, IF the jigsaw puzzle should happen to fall down there will be little damage and it will last a lifetime on your wall.....I have a few that are over 30 years old....oops my age is showing ;)
Here's a sample of the No Glue Method Jigsaw Puzzle Steps on the Snowman Delight showing the front and back. The black strip on the back is the velcro strip wall hanger.
 |
 |
I hope this helps to see more great jigsaw puzzles on your walls.....I know I enjoy seeing mine and even rotate my seasonal one too.
- Best Quality Jigsaw Puzzles
- 43 Best Jigsaw Puzzle Brands
- 5 Best Jigsaw Puzzle Lights
- 11 Best Jigsaw Puzzle Tables
- 23 Best Jigsaw Puzzle Mats
- 85 Best Shaped Jigsaw Puzzles
- 29 Disney Villainous Jigsaw Puzzles
- Best Jigsaw Puzzles Scoops
- Best Jigsaw Puzzle Glue
- No Glue Method for Puzzles
- 115 Cobble Hill Jigsaw Puzzles
- 33 JaCaRou Jigsaw Puzzles
- 9 WerkShoppe Jigsaw Puzzles
- 5 Grateful House Jigsaw Puzzles
- 95 Eurographics Jigsaw Puzzles
- 7 Hennessy Jigsaw Puzzles
- 11 Ceaco Jigsaw Puzzles
- 29 Cloudberries Jigsaw Puzzles
- 2 Wentworth Jigsaw Puzzles
- _______Advertisement_______
We have collected a massive list of jigsaw puzzles in numerous categories on our Amazon Store link. It's a quick way to browse most current puzzles and/or specific seasons, accessories and themes. Makes for a terrific one-stop jigsaw puzzle gift giving shopping centre. CLICK HERE
You may like these jigsaw puzzles...
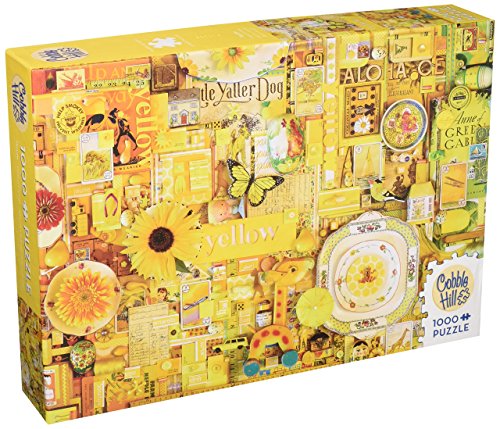
 8. COBBLE HILL Red Jigsaw Puzzle (1000 Piece) 8. COBBLE HILL Red Jigsaw Puzzle (1000 Piece) |
About: Mastering the Art of Choosing the Right Jigsaw Puzzle
Tips to Avoid Buying Overwhelmingly Difficult Images
Jigsaw puzzles offer a delightful challenge, but there are times when the level of difficulty can be overwhelming. Whether you're a seasoned puzzler or a novice looking for an enjoyable experience, it's important to choose the right puzzle image that matches your skill level and personal preferences. In this article, we'll explore the world of difficult jigsaw puzzles and provide you with a list of tips to help you avoid buying images that might leave you feeling frustrated.
1. Know Your Skill Level
Understanding your own puzzle-solving skills is key when selecting a jigsaw puzzle. Be honest with yourself about your experience and comfort level. If you're a beginner, it's best to start with puzzles that have a lower piece count and simpler imagery. As you gain confidence and experience, you can gradually challenge yourself with more complex puzzles.
2. Consider the Piece Count
The number of puzzle pieces directly affects the difficulty level. Larger piece counts, such as 1,000 pieces or more, can be more time-consuming and mentally demanding. If you prefer a less challenging experience, opt for puzzles with smaller piece counts, such as 500 pieces or even fewer.
3. Analyze the Imagery
Before purchasing a puzzle, carefully examine the image. Complex and intricate designs, such as landscapes with numerous details or abstract patterns, tend to be more challenging. If you're looking for a less daunting puzzle, choose images with clearly defined sections, distinct colors, or simpler motifs.
4. Read Product Descriptions and Reviews
Take the time to read product descriptions and reviews. Puzzle manufacturers often provide information about the level of difficulty, which can help you make an informed decision. Additionally, reading reviews from other puzzlers can give you insights into the puzzle's complexity and whether it aligns with your preferences.
5. Look for Beginner-Friendly Collections
Many puzzle companies offer collections specifically designed for beginners. These collections often feature puzzles with larger pieces, simpler imagery, or even hints and guidance to assist you along the way. Exploring these beginner-friendly options can be a great way to ease into the world of jigsaw puzzles.
6. Seek Variety in Piece Shapes
Some puzzles feature unique piece shapes that can add an extra layer of difficulty. If you're looking for a more accessible experience, consider puzzles with standard grid-shaped pieces. However, if you enjoy a challenge, look for puzzles with irregular or whimsical piece shapes, as they can make the assembly process more complex and engaging.
7. Check for Puzzle-Specific Features
Certain puzzle manufacturers offer features to indicate the level of difficulty. For example, some puzzles may have a "difficulty rating" on the packaging or specify whether they are suitable for beginners, intermediate puzzlers, or advanced enthusiasts. These indicators can be valuable in making an informed decision.
8. Consider Collaborations with Artists
Many jigsaw puzzle companies collaborate with renowned artists, resulting in a wide range of puzzle images with varying levels of difficulty. Some artists may have a distinctive style that makes their puzzles more challenging, while others may focus on creating accessible and enjoyable designs. Research the artist's work and style to ensure it aligns with your preferences and skill level.
9. Seek Recommendations from Fellow Puzzlers
Engaging with the puzzle community, whether through online forums, social media groups, or local puzzle clubs, can provide valuable insights and recommendations. Experienced puzzlers can share their thoughts on specific puzzle images and brands, helping you make informed choices.
10. Trust Your Instincts
Ultimately, trust your instincts and choose puzzles that genuinely spark joy and interest for you. While it's important to consider the difficulty level, it's equally crucial to select images that you find visually appealing and personally satisfying. Enjoying the process of assembling a puzzle is just as important as the challenge itself.
By following these tips, you'll be better equipped to choose jigsaw puzzles that match your skill level and provide an enjoyable experience. Remember, puzzles should be a source of relaxation and fun, so don't be afraid to explore different options and challenge yourself while staying within your comfort zone. Happy puzzling!
(ChatGPT, personal communication, June 20, 2023)
